
Grouting is a crucial step in any tile installation project, providing not only a finished look but also sealing the spaces between tiles to prevent water damage, dirt buildup, and movement. Whether you’re installing floor, wall, or backsplash tiles, using the correct grouting techniques ensures a durable, professional-looking result.
In this guide, we’ll explore the best grouting techniques for tile installation, including choosing the right grout, applying it correctly, and maintaining it for a long-lasting finish.
1. Choosing the Right Grout for Your Project
Before you start grouting, it’s important to choose the correct type of grout for your tile installation. Grout comes in various forms, and selecting the right one depends on the width of your grout lines, the type of tile, and the location of the installation (e.g., bathroom, kitchen, or outdoor area).
Types of Grout:
- Sanded Grout: Sanded grout contains fine sand particles and is used for grout lines larger than 1/8 inch. It is strong and durable, making it ideal for floor tiles, large tiles, and high-traffic areas.
- Unsanded Grout: Unsanded grout is smooth and free of sand particles. It’s best suited for grout lines that are 1/8 inch wide or smaller and is typically used for vertical applications such as walls, backsplashes, and shower surrounds. Unsanded grout works well with delicate tiles like glass or polished stone.
- Epoxy Grout: Epoxy grout is highly resistant to stains, moisture, and chemicals, making it ideal for bathrooms, kitchens, and outdoor applications. It’s also extremely durable, but more challenging to apply due to its quick setting time and
- Pre-Mixed Grout: Pre-mixed grout is ready to use straight out of the container, saving time during installation. It’s often used for small projects and DIY jobs but may not offer the same level of durability as traditional grout mixes.
Pro Tip: For moisture-prone areas like bathrooms and kitchens, consider using epoxy grout or adding a grout sealer for extra protection.
Dark Colors for Larger or Well-Lit Rooms
Dark-Colored Laminate: Shades like walnut, dark oak, or espresso bring depth and richness to larger rooms. Dark laminate can make large, open spaces feel cozier and more intimate.
Best Rooms: Dark laminate works well in living rooms, dining areas, and master bedrooms, especially those with plenty of natural light.
Pro Tip: If you want to install dark laminate in a smaller room, balance it with lighter walls and furniture to avoid making the space feel too confined.
Best Rooms: Light laminate is ideal for small rooms, such as bedrooms, bathrooms, or home offices, or rooms with little natural light, like basements.
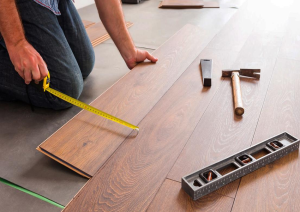
2. Preparing the Tile Surface for Grouting
Proper preparation is key to a successful grouting process. Before applying grout, ensure the tiles are securely set and the adhesive has fully cured (typically 24 hours).
Steps to Prepare for Grouting:
- Clean the Tile Surface: Wipe down the tiles with a damp sponge to remove any dust, debris, or excess adhesive. This ensures that the grout adheres properly to the joints and doesn’t pick up dirt during application.
- Check for Consistent Spacing: Ensure the grout joints are consistent in size and that there are no gaps or uneven spaces between the tiles. If needed, remove any leftover spacers.
- Inspect for Cracks or Holes: Make sure there are no cracks or holes in the grout lines. These imperfections should be addressed before grouting to ensure a smooth, professional finish.
Pro Tip: Use painter’s tape to mask off areas where grout should not be applied, such as along the edges of fixtures or countertops.
3. Mixing the Grout
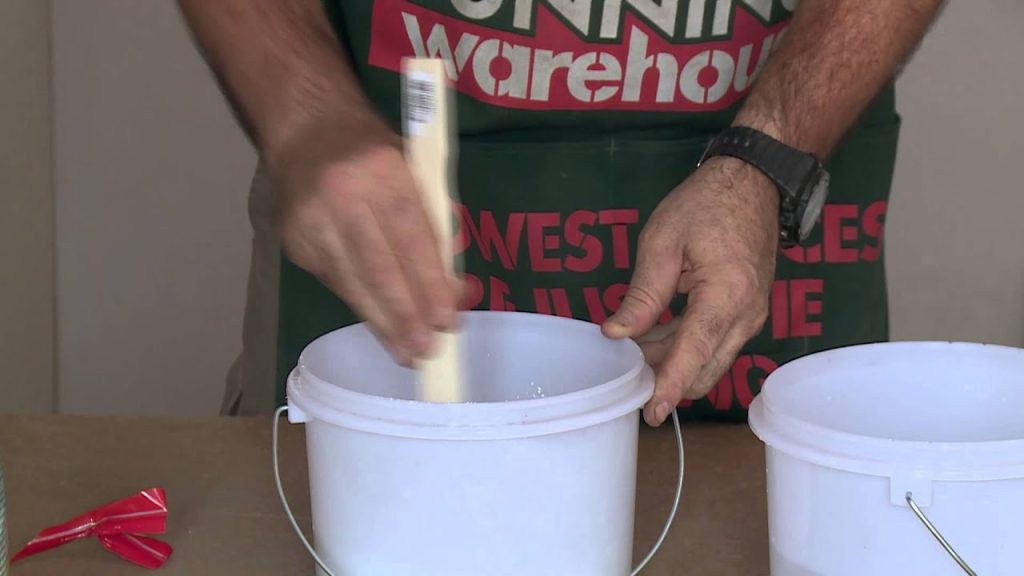
If you’re using dry, cement-based grout (such as sanded or unsanded), you’ll need to mix it to the proper consistency before application. Getting the right mix is crucial for easy application and even results.
How to Mix Grout:
- Follow Manufacturer Instructions: Always follow the manufacturer’s instructions for the correct ratio of water to grout powder. Too much water can weaken the grout, while too little can make it difficult to work with.
- Mix to the Right Consistency: The grout should have a consistency similar to peanut butter or thick toothpaste. It should be firm enough to hold its shape but soft enough to spread easily.
- Let the Grout Slake: After mixing, let the grout sit for about 5-10 minutes to allow the chemicals to fully activate. Stir the grout again briefly before applying it.
Pro Tip: Use a power drill with a mixing attachment for larger batches of grout to ensure even mixing without lumps.
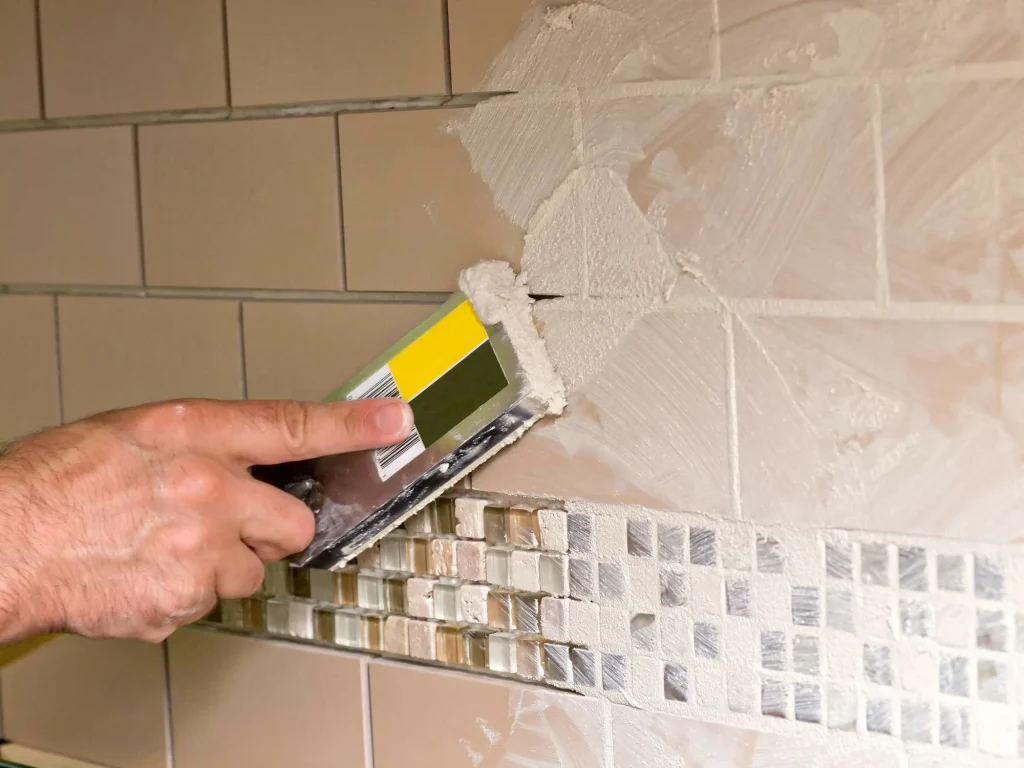
4. Applying Grout to the Tile Joints

Once your grout is ready, it’s time to apply it to the joints between the tiles. Grouting should be done in small sections to ensure that the grout doesn’t dry out before you can clean it off the tiles.
Steps for Applying Grout:
1. Use a Grout Float: Scoop some grout onto the surface of the tiles using a rubber grout float. Hold the float at a 45-degree angle and press the grout into the joints, working in a diagonal motion to ensure the grout fills the spaces completely.
2. Work in Small Sections: Apply grout to about 2-3 square feet at a time. This allows you to work efficiently without the grout drying out on the tile surface.
3. Press Firmly: Make sure you press firmly enough to force the grout into the joints, but avoid pushing the grout float too hard against the tile surface, which can remove too much grout from the joints.
4. Remove Excess Grout: After filling the joints, hold the grout float at a 90-degree angle and scrape off the excess grout from the surface of the tiles. Move the float diagonally to avoid pulling grout out of the joints.
Pro Tip: Keep the grout float at the correct angle to avoid removing too much grout from the joints while smoothing the surface.
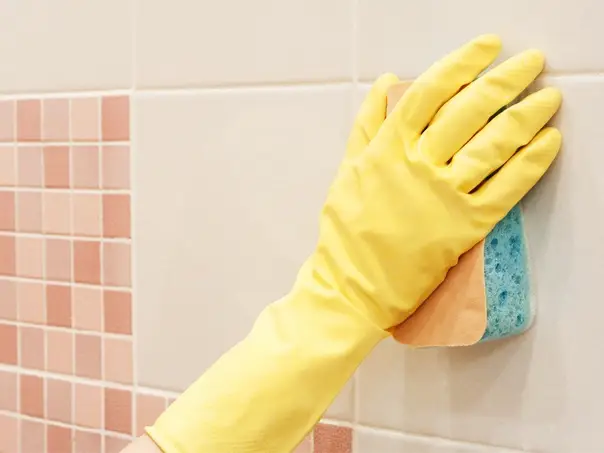
5. Cleaning the Tiles After Grouting

Once the grout is applied, you’ll need to clean the excess grout off the surface of the tiles before it dries. Cleaning too early can pull grout out of the joints, but waiting too long can make it difficult to remove the grout haze.
Mixed Materials: For rooms with a mix of materials, such as metal or glass furniture, opt for neutral or versatile laminate colors that don’t clash with the various textures in the room.
How to Clean the Tiles:
- Wait 10-15 Minutes: Allow the grout to set for 10-15 minutes before cleaning. The grout should start to firm up, but not harden completely.
- Use a Damp Sponge: Dampen a sponge with clean water and wring it out well. Wipe the tile surface in a circular motion to remove excess grout. Rinse the sponge frequently and change the water as it becomes cloudy.
- Clean Diagonally: Wipe the sponge diagonally across the tiles to avoid pulling grout out of the joints. Continue wiping until the tile surface is free of grout.
- Buff the Tiles: After the grout has dried for a few hours, use a dry cloth or microfiber towel to buff the tiles and remove any remaining grout haze.
Pro Tip: Use two buckets of water—one for rinsing the sponge and one for clean water—to prevent reapplying grout residue to the tiles.
6. Let the Grout Cure
Allow the grout to cure fully before using the tiled area. The curing time depends on the type of grout used, but typically takes 24-72 hours.
Curing Tips:
Avoid Heavy Traffic: Keep the tiled area clear of heavy traffic or water exposure during the curing process to prevent damage to the grout.
Check for Cracks: Once the grout has cured, inspect the joints for any cracks or gaps. If necessary, reapply grout to areas that need touch-ups.
Pro Tip: Keep windows open or use fans to improve ventilation, which helps speed up the curing process, especially in humid environments.
7. Sealing the Grout
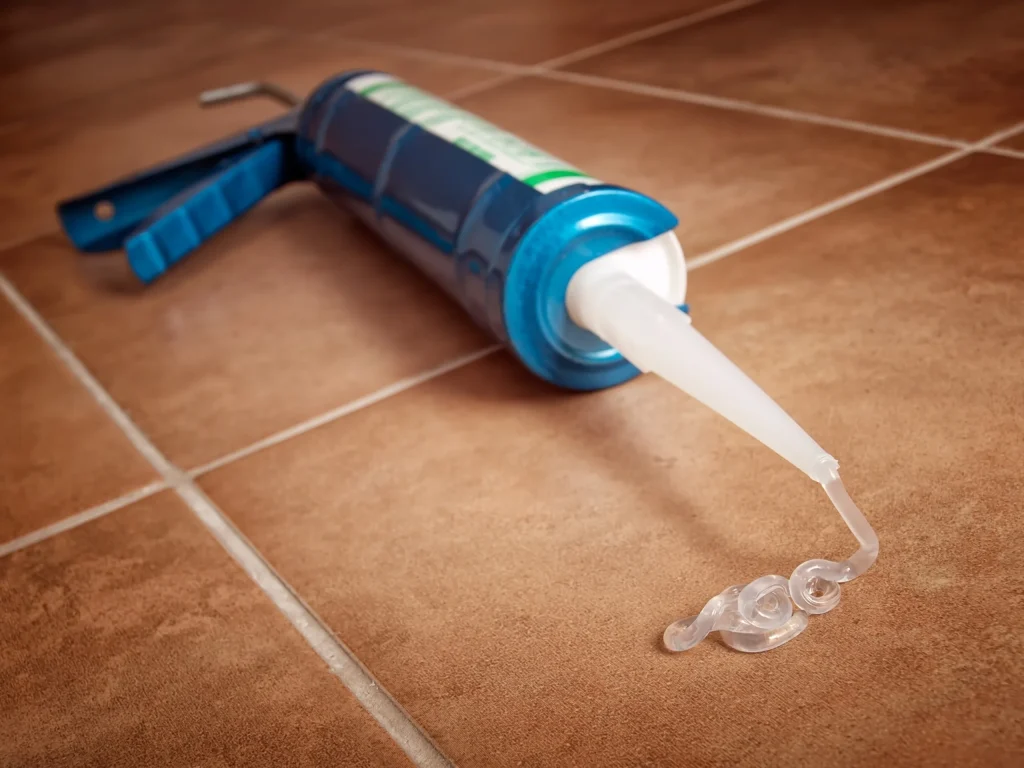
Grout is porous and can absorb moisture, dirt, and stains over time. Sealing the grout helps protect it from damage and prolongs its lifespan, especially in moisture-prone areas like kitchens and bathrooms.
How to Seal Grout:
1. Choose a Grout Sealer: Select a grout sealer that is compatible with the type of grout used (cement-based or epoxy). Penetrating sealers are ideal for most grout types, as they absorb into the grout and provide long-lasting protection.
2. Apply the Sealer: Use a small brush or sealer applicator bottle to apply the sealer directly to the grout joints. Be careful not to get sealer on the tile surface, especially if the tiles are unglazed.
3. Wipe Off Excess: If any sealer gets on the tiles, wipe it off immediately with a damp cloth.
4. Let the Sealer Dry: Allow the grout sealer to dry according to the manufacturer’s instructions, typically 24 hours.
Pro Tip: Reapply grout sealer every 1-2 years, especially in high-moisture areas like bathrooms, to keep your grout protected.
8. Maintaining Grout for Long-Lasting Results

Proper maintenance is essential to keeping your grout looking fresh and preventing it from deteriorating over time.
Maintenance Tips:
- Clean Regularly: Use a pH-neutral grout cleaner and a soft brush to clean grout lines regularly. Avoid using harsh chemicals or acidic cleaners that can erode the grout.
- Address Stains Promptly: If grout becomes stained, clean it immediately to prevent the stain from setting. For tougher stains, use a grout stain remover or a paste made of baking soda and water.
- Reapply Sealer: Periodically check the grout sealer and reapply it as needed to keep your grout protected from moisture and stains.
Pro Tip: For heavily stained or discolored grout, consider using a grout colorant or stain to refresh its appearance without having to replace the grout entirely.
Final Thoughts
Using the right grouting techniques is essential for a polished, durable tile installation. By choosing the right grout, applying it properly, cleaning the tiles carefully, and sealing the grout, you can achieve a professional finish that lasts. Regular maintenance and care will keep your grout looking fresh, ensuring that your tile installation remains beautiful and functional for years to come.