
Installing laminate flooring on stairs is a great way to create a seamless look between rooms and staircases. Laminate flooring offers durability, affordability, and the look of real wood, making it an ideal choice for stairs that experience heavy foot traffic. However, installing laminate on stairs requires special attention to detail compared to installing it on flat surfaces, as stairs present unique challenges like bullnoses and stair edges.
In this guide, we’ll cover everything you need to know about installing laminate flooring on stairs, from materials and tools to step-by-step instructions.
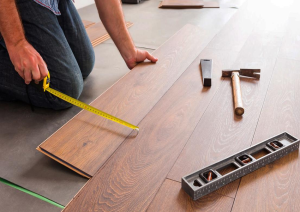
1. Materials and Tools You’ll Need
Before starting the installation, make sure you have all the necessary materials and tools. Here’s what you’ll need:
Materials:
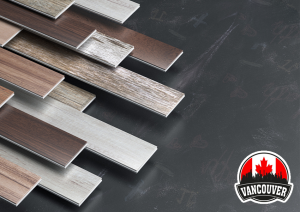
- Laminate Flooring Planks: Choose a laminate that is durable and matches or complements the rest of your flooring.
- Stair Nosing (Bullnose): Stair nosing is a special trim designed to cover the edges of each step, providing a finished look and protecting the edges of the laminate.
- Construction Adhesive: Use a high-quality adhesive to secure the laminate planks and nosing to the stairs.
- Wood Screws: For attaching the stair nosing securely.
- Tape Measure: For accurate measurements.
- Trim or Molding (optional): To cover any gaps at the sides of the stairs.
Tools:
- Circular Saw or Jigsaw: For cutting the laminate planks to fit each step.
- Drill and Drill Bits: For securing the stair nosing with screws.
- Hammer and Nails: To attach any molding or trim around the stairs.
- Tapping Block and Mallet: For snapping the laminate planks together (optional).
- Utility Knife: For making precise cuts.
- Caulk Gun: For applying adhesive.
- Pencil and Measuring Tape: To measure and mark cuts accurately.
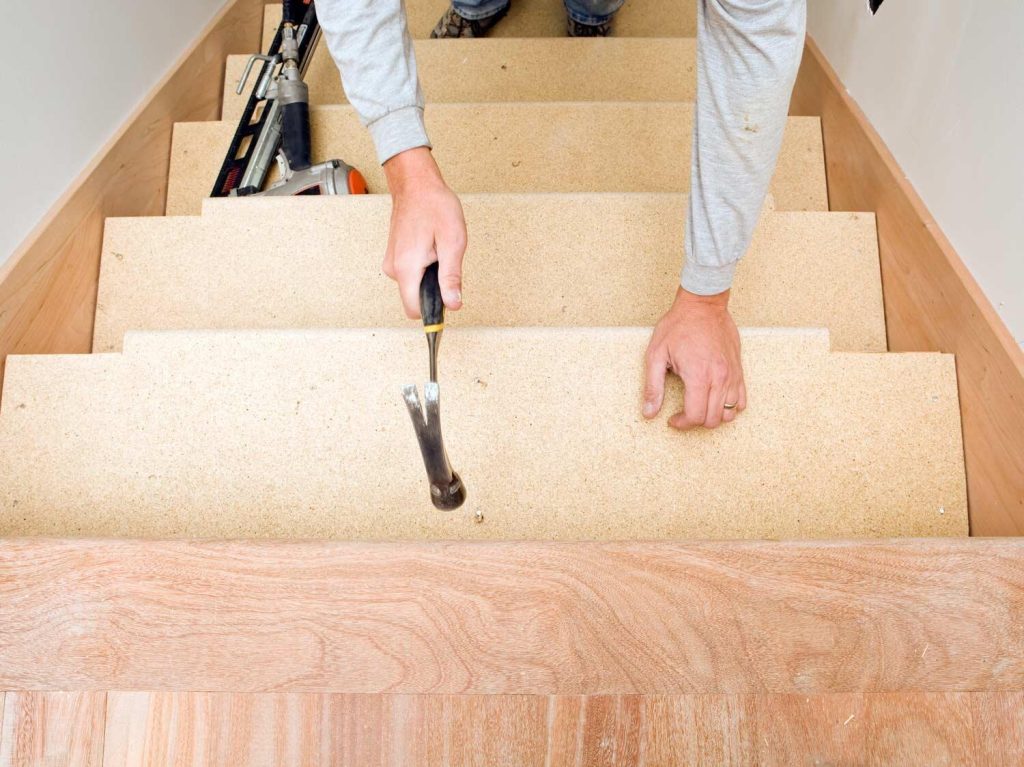
2. Prepare the Stairs

Before installing laminate on stairs, you need to properly prepare the surface to ensure a secure and lasting installation.
Remove Existing Flooring
- Remove Old Flooring: If your stairs are carpeted or covered with another type of flooring, remove the old material and any staples, nails, or adhesive residue. Make sure the surface is smooth and clean before starting.
Check for Stability
- Ensure Stairs Are Level: Check each step to ensure that the surface is level and free of damage. If you find uneven spots or squeaky boards, fix them before proceeding with the laminate installation.
- Reinforce Stairs (if necessary): If any of the steps feel loose or weak, reinforce them with screws or nails to ensure they are secure before adding laminate.
Clean the Surface
- Clean Thoroughly: Vacuum or sweep the stairs to remove any dust or debris. A clean surface will help the adhesive bond properly.
3. Measure and Cut the Laminate Planks

Accurate measurements are essential when installing laminate flooring on stairs, as each step will likely need custom-cut planks.
Measure Each Step
- Measure Width and Depth: Measure the width of the stairs and the depth of each step (the tread) and riser (the vertical part of the step). Each step may vary slightly in size, so measure each one individually for accurate cuts.
Cut the Laminate
- Cut the Planks to Fit: Use a circular saw or jigsaw to cut the laminate planks to fit the treads and risers. Be sure to account for the nosing (the overhanging edge of each step) when measuring and cutting.
- Dry Fit the Pieces: Before gluing or attaching anything, do a dry fit by placing the cut laminate pieces on the stairs to ensure they fit properly.
4. Install the Laminate Flooring

Once the planks are cut, you’re ready to begin the installation process. Follow these steps to install laminate flooring on each step.
Start with the Risers
- Apply Adhesive: Apply construction adhesive to the back of the laminate plank for the riser. Spread the adhesive evenly across the surface for a secure bond.
- Press and Secure: Press the plank firmly against the riser and hold it in place for a few seconds. Make sure it fits snugly against the step.
- Nail or Screw for Extra Security (Optional): For additional security, you can use finishing nails or screws to hold the plank in place. Just be sure to fill any visible holes with matching putty.
Install the Tread (Step Surface)
- Apply Adhesive to the Tread: Apply construction adhesive to the top of the step where the tread (the horizontal part of the step) will go. Be sure to spread the adhesive evenly.
- Press and Secure the Laminate Plank: Place the laminate plank for the tread on top of the adhesive, pressing it down firmly. Ensure that the plank is positioned correctly and fits snugly.
- Nail or Screw for Extra Security: Like with the riser, you can use screws or nails to hold the laminate plank in place for extra durability.
Attach the Stair Nosing
Stair nosing, or bullnose, is a vital part of installing laminate on stairs. It provides a finished look and protects the edges of the steps from wear and tear.
- Apply Adhesive: Apply construction adhesive to the underside of the stair nosing.
- Press and Align: Press the stair nosing into place along the front edge of the step (where the tread meets the riser). Ensure it is properly aligned and sits flush with the laminate flooring.
- Secure with Screws: Drill pilot holes into the stair nosing and attach it securely with screws. Be sure to countersink the screws so that they are flush with the nosing surface. Cover the screw holes with matching plugs or filler for a clean finish.
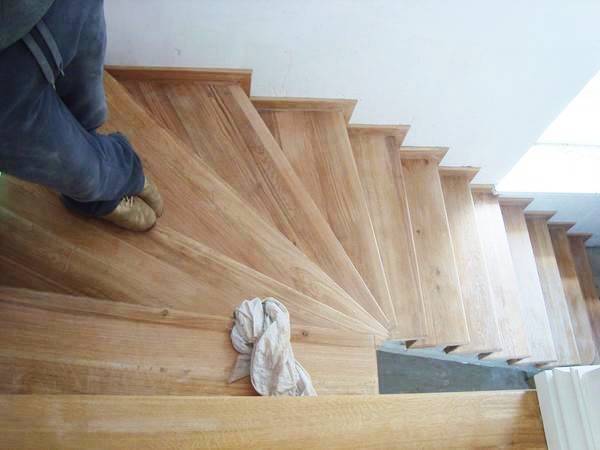
5. Finish the Installation

Once the laminate planks and nosing are installed, there are a few finishing touches to complete the project.
Install Molding or Trim (Optional)
Cover Gaps: If there are any visible gaps along the sides of the stairs or between the planks and walls, install molding or trim to cover them. Nail the trim in place, being careful not to damage the laminate flooring.
Clean the Area
Wipe Away Excess Adhesive: Use a damp cloth to clean up any excess adhesive that may have seeped out during installation. Be sure to clean it up before it dries for the best results.
6. Maintenance Tips for Laminate on Stairs
After installation, it’s important to take proper care of your laminate-covered stairs to ensure they last for years. Here are some maintenance tips:
- Use Rugs or Mats: Place rugs or stair runners to reduce wear and tear, especially in high-traffic areas.
- Clean Regularly: Sweep or vacuum the stairs regularly to remove dirt and debris that could scratch the laminate surface.
- Avoid Water: Laminate is not waterproof, so avoid cleaning the stairs with excessive water. Use a damp mop or laminate-safe cleaner for occasional cleaning.
Final Thoughts
Installing laminate flooring on stairs is a bit more challenging than installing it on flat surfaces, but with the right materials, tools, and attention to detail, you can achieve a professional-looking result. Stair nosing is an essential component of the project, and taking the time to measure and cut accurately will ensure that your laminate-covered stairs are not only beautiful but also safe and durable.
By following these steps, you’ll have a seamless, stylish look that flows from your rooms to your stairs, enhancing the overall appearance of your home.